Monday, September 26, 2011

End of Summer Pasta Salad

It seems like pasta salad gets a bad rep. People generally think of it as the item that sits out untouched at barbecues and cookouts, slathered  in mayonnaise. 

Well I have news for you. This pasta salad is anything BUT mediocre or mayonnaise-laden. It's bold, bursting with flavor, and made using fresh and healthy ingredients. 


This recipe is an excellent way to take advantage of the last few crops of gorgeous summer tomatoes gracing the supermarket. Hothouse tomatoes that are widely available during the wintertime absolutely pale in comparison as far as color, flavor, and texture. In fact, you are lucky to find cherry or grape tomatoes during the winter months at all. 


Here is what you will need (Makes 4 servings):
  • 1/2 lb of tubular pasta, such as penne or rigatoni (1/2 lb = 1/2 a standard package) 
  • 1 pint of cherry or grape tomatoes
  • 8 oz ricotta cheese (1/2 a standard 16oz container. I used part-skim but you could use full fat or fat free if you wish) 
  • 1/4 cup extra virgin olive oil
  • 10 sprigs of fresh thyme 
  • zest of 2 lemons 
  • freshly cracked pepper
  • salt  


 Step 1: Preheat your oven to 400 degrees and set a large pot of salted water on high to boil on the stovetop. Rinse your cherry tomatoes and thyme thoroughly under running water. Pat them dry with a cloth or paper towel. 


Step 2: Slice your tomatoes in half lengthwise using a very sharp knife. I had to sharpen mine halfway through this step because my knife was squishing the tender 'toms before it was cutting through them. 
 

Here are all my grape tomatoes halved. Pretty as a picture! 


Step 3: Place your halved tomatoes and clean thyme sprigs in a bowl. Drizzle a generous amount of olive oil (1/8th cup or so) and toss to coat. I just use my hands for this.


Step 4: Line a small baking sheet with foil and spray generously with non-stick spray (or, if you don't have it, just drizzle more olive oil on the baking sheet and rub it around with your hands or a paper towel).

Arrange the tomatoes on the baking sheet, cut side up. Drape the thyme sprigs over top. Sprinkle generously with salt and fresh cracked black pepper. Your oven should be preheated by this point, so pop 'em in! These will need to stay in the oven for around 15 minutes, but keep an eye on them.


Step 5: Your water should also be boiling at this point. Dump your half pound of pasta (I used penne) into the boiling water and cook according to package directions. My package directed me to cook it for 11 minutes. 
 

 Step 6: While your tomatoes are roasting, scrub your lemons under running water using a rough sponge to get all the grit off. Zest your lemons into a small bowl - zesting is essentially scraping off the bright yellow rind (I use a fine hand held cheese grater to do this; you could also use the fine side on a box grater or a microplane if you have one). 


The zest (or rind) of citrus fruit house essential oils, which add incredible flavor and depth to food. However, right underneath the bright rind of the fruit is the white, bitter pith. See the spot near the right of the lemon below that is white?


That white spot near the right of the lemon is the pith starting to show through. You don't want that part. Just grate off the very outside of the rind all over the whole lemon - if you keep grating too deep in any one spot, you will start seeing the white bits, which taste very bitter and unpleasant. 


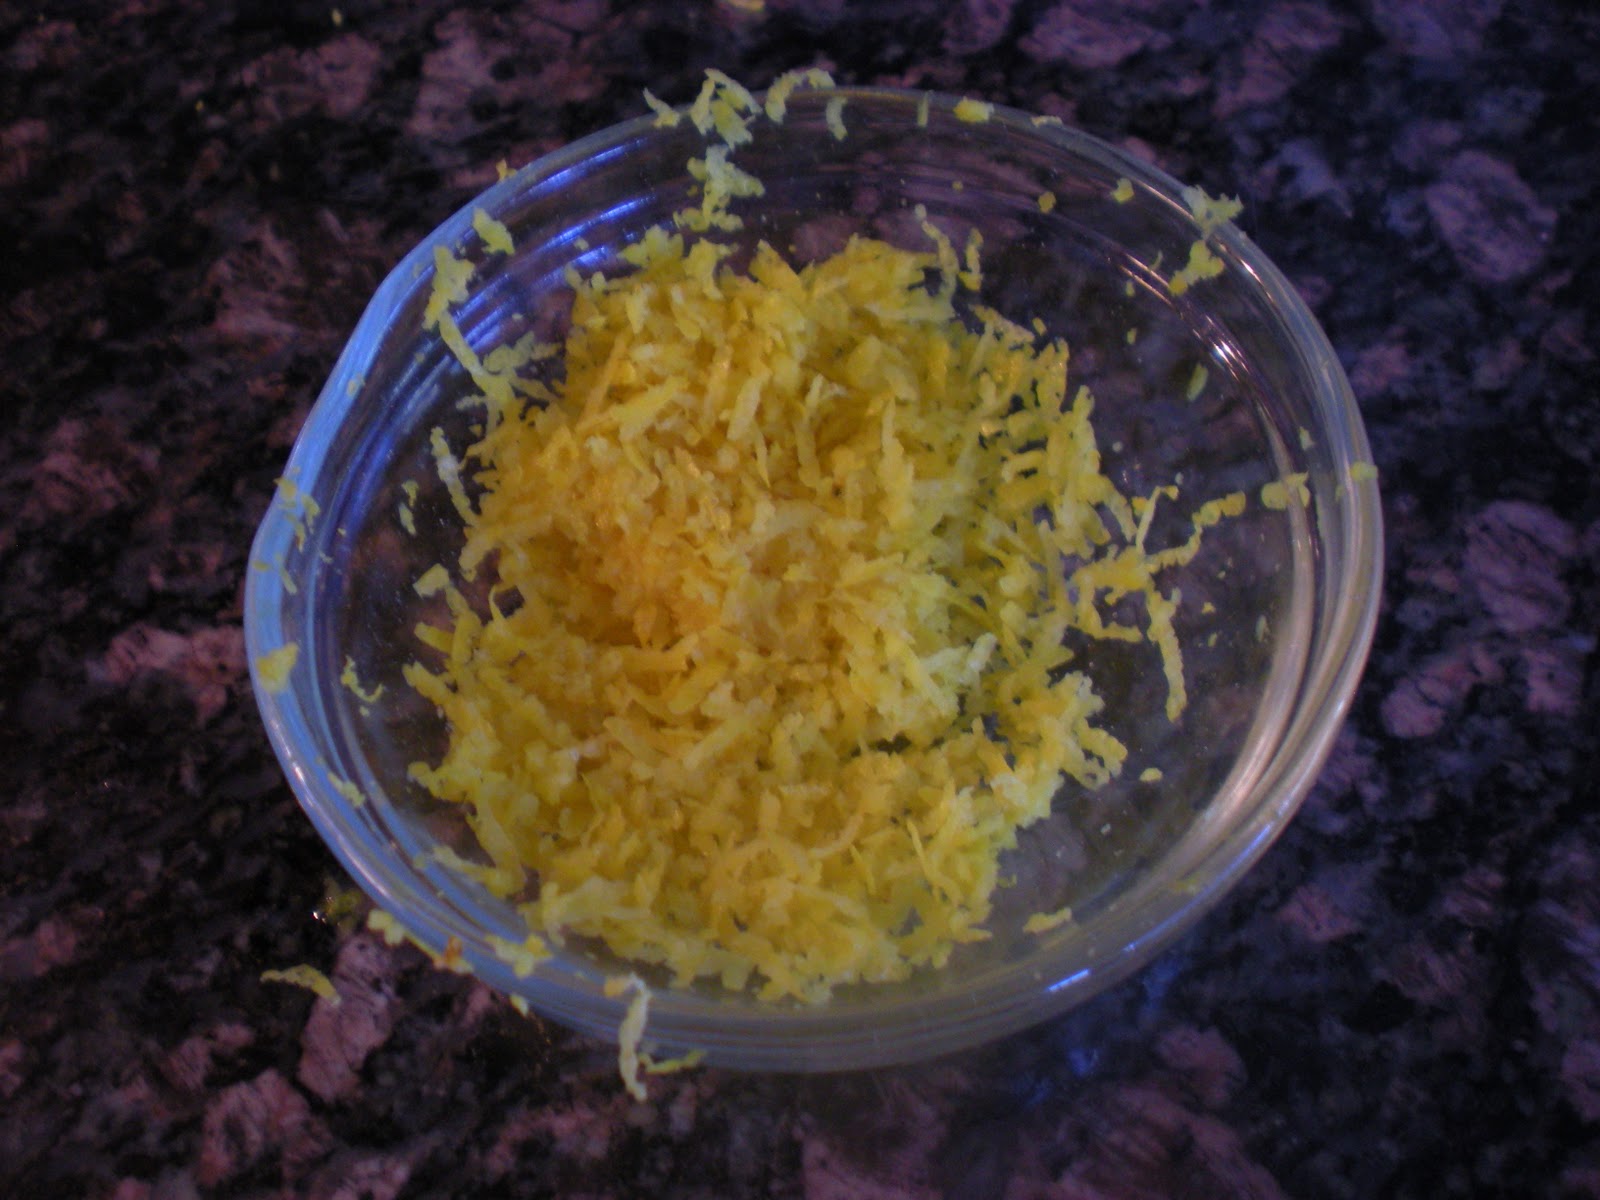
Here is the zest from my two lemons. It probably came out to around 2-3 tablespoons, if you want to get technical.


Step 7: Once your pasta is finished cooking, drain it in a colander and rinse it thoroughly with cold water. You want it to be cool to the touch. 


Step 8: Remove your tomatoes from the oven when they have finished roasting (10-15 minutes). They should look like the picture below - slightly wilted and a little brown on top. 

As you can see, the natural sugars in the tomatoes caramelize during the roasting process, which makes a huge mess when they explode on the surface of the pan (see all the burnt tomato juice on the left side?) . Using foil makes clean-up a lot easier and eliminates the need to scrub a pan covered in burnt food.


 Step 9: Assemble your dish! 

Scoop your desired amount of pasta into a bowl.
Spoon on a few large dollops of ricotta cheese. 
Sprinkle on a teaspoon or so of the lemon zest. 
Drizzle some more olive oil over it. Add your roasted tomatoes on top and a couple sprigs of the roasted thyme (I also added some dried thyme to intensify the flavor, this is completely optional). 
Add a pinch of salt and more fresh cracked black pepper and you're good to go!


 Look how gorgeous this dish is. If you are trying to eat more meatless dishes, this pasta salad could be a great way to incorporate a vegetarian meal into your diet. Also, I used the Barilla Plus Penne (which has added fiber, whole grains, and omega-3's) and part-skim ricotta, making this dish extremely low in saturated fat, and high in fiber and nutrients. 


Not to mention the flavor...roasting the tomatoes makes them incredibly sweet and intense when they burst in your mouth. Try this soon. You won't regret it!


Thanks for reading!
xoxo


JEN


Saturday, September 24, 2011

DIY Paint Sample Coasters

I've been wanting to make these funky paint sample coasters ever since I saw the original post from CraftyCPA
on my friend Jen's pinterest. We resolved to make them together ASAP. They were pretty quick, extremely easy, and inexpensive as well! Look how pretty they turned out.


Here is what you will need: Paint samples of your choice, 4.25" x 4.25" ceramic tiles from the hardware store (look for ones without a beveled edge so your samples will lay flat; the ones we picked were only 10 cents apiece), mod podge, glossy spray acrylic enamel, felt, a glue gun, and scissors. 

Here's a picture of all the supplies we used.


Here's a close up of the samples I used: 


 Trim your paint samples down so they fit on the coaster without hanging over. Ours weren't quite wide enough to fit the whole tile, so you can see the white tile a little on the right and left sides. 

Apply mod podge to the glazed side of the tile and to the back of your trimmed paint sample. Apply the sample to the tile and move it around until it's exactly centered (or however you want it). The mod podge will look opaque, but trust me, it dries clear. Here's a picture after only applying the mod podge.


Once you've thoroughly applied mod podge to all your coasters (I made 5), allow them time to dry completely. Mod Podge dries pretty quickly and this didn't take more than 10 minutes or so - by the time I finished podging the last one, the first one was already completely dry. 

After all your tiles are dry, take everything outside on a tray or old board (something you can transport the tiles on easily but that you don't care if it gets messed up). Spray the tiles THOROUGHLY with the spray acrylic enamel. Douse them with it. 


After the first coat of enamel is semi-dry, douse them with the stuff again. This is what will give them a glossy and durable finish, so don't skimp. 


After they're dry, this is what you get:

 Cut your felt into squares the size of your tile. Apply them to the back of your tiles using the hot glue gun (this way the rough side of the tile won't scratch your counters or coffee table). And there you have it! Ain't they purty?

Considering Jen and I already had all the supplies we needed except for the tiles, this project came in at a grand total of 1.09$ for both of us! However, if you don't do crafts often, you probably won't have mod podge, spray enamel, or felt just lying around. Even if you do have to buy more supplies than we did, I still highly recommend this project. 

These would make a fantastic gift for that crafty or off-beat person in your life! The best part is you can choose whatever color scheme you want to fit your decor or taste.  


I hope you enjoyed learning how to make your own coasters using paint samples. Let me know if you have any questions about this project. Thanks for reading!
xoxo

JEN 

Wednesday, September 21, 2011

DIY Digital Alphabet Collage

A couple of days ago, I stumbled upon a blog that referenced the works of photographer Leo Reynolds. Leo has made much of his work available for people to download and use with very limited restrictions (personal use, like for this project, is a-ok). Leo has provided HUNDREDS of photos of each letter of the alphabet (including punctuation) that you can download in whatever sizes you want (75 x 75, 100 x 100, and 240 x 240 pixels will probably work the best for this project). 

You can check out Leo Reynolds' Letters Collection by clicking here.

To view and download the letter you want in your desired size, first click on the thumbnail image of the letter (d'oh). It will open a new page. Click the large image of the letter one more time (the cursor will be a magnifying glass icon). In the page that opens, click "view all sizes" in the top right corner. From there you will be able to select which size you want and download or take a screenshot of the image in that size.
 The fun part is, you can download whatever letters you want and piece them together using an image editing program to create words or phrases. Here is the one that I made: 


As you can see, using all the different types of letters creates a funky, artistic look. I chose "dream big or go home" because I thought it would be inspirational to look at every day. Some other ideas include your name, song lyrics, or a famous quote. The best part about this project? It was totally free! 


If you want to get fancy shmancy, feel free to use Photoshop or whatever nice imaging software you have. I just used plain old Microsoft Paint, and with pretty awesome results, imho. In fact, I didn't even download the images - I just opened them in the size I wanted in my browser, used Print Screen to copy them, pasted the full image in paint, and then used the select tool to cut out the letters and move them to the desired spot. Pretty elementary, but I am very pleased with the results. 


The frame this is displayed in is actually a record album frame I had lying around, and I didn't even have to pay for the print, because my friend Brad works at his dad's printing company and printed my image out on high-quality photo paper for me. Thanks again, Brad!

If you don't have any friends who work in the printing business (heh), I'd recommend using kodak.com or a similar service that allows you to order digital prints online. Or you could save it to a flash drive and take it to a store like CVS pharmacy where they have photo kiosks. Or, if you have a nice color printer (unlike me), you could even just print it out at home on high quality paper.

The size of mine turned out to be right around 10" x 10" and probably would not have cost more than 5-8 dollars to order a print.


Here's one last picture of my project, from a side view: 


Pretty sweet, eh? For an almost free project I'd say it turned out even better than I expected. It really adds a funky flair to a space, and the best part is that you can personalize it completely. If you are looking for an inexpensive way to make some custom art for your walls, you should definitely give this project a shot!

I tried to make the instructions as clear as possible, but if you have any questions feel free to ask in the comments section. Thanks for reading!

xoxo
JEN  

Monday, September 19, 2011

Welcome to my blog!

Thank you for visiting my blog, making&baking. I had been considering starting a cooking blog for a long time, but I realized my interests are even broader than that, so I will be including plenty of DIY and craft projects as well. Many of my friends are impressed by the things I make, but tell me that they never would have thought of doing it on their own. That's where my blog comes in. I hope I can inspire you to get crafty and make some amazing food!

Here are a couple of projects I've completed this past week, to give you an idea of what kinds of things you'll be seeing here.

On Friday, I made this pretty earring organizer with my lovely friend Callie. We also made pizza from scratch (recipe coming soon) and drank wine. It was fun, fun fun! Here it is:


This project was super easy and inexpensive. It took less than 30 minutes to complete. It was made using a shadowbox frame (purchased from Michael's for 6.99) that I painted black and a wooden dowel cut into two pieces (also painted black, it was 39 cents). The pretty damask newsprint backing is simply a sheet of scrapbooking paper (99 cents) glued to the back of the frame! I used wood glue to secure the dowels to the inside of the frame and I am very pleased with how strong of a bond it created. 

Look how pretty it looks propped up on my bookshelf! It's just leaning against the wall right now, but you could also add some mounting hardware to the back if you wanted to hang it up. I love having all my earrings out on display so I'm reminded to wear them more often.


Today, I FINALLY got around to starting a windowsill herb garden. It is something I have been meaning to do for ages but just never made the time. The herbs I picked fronm left to right are basil, rosemary, mint, and thyme. They are pretty small and were $1.98 each at Lowe's (I also purchased larger pots for the basil and mint since they tend to grow big quickly). I have had a lot of trouble keeping plants alive in the past but I am really going to try my best to keep these babies going strong, black thumb be darned!


Having fresh herbs available to use for cooking is a real luxury. Fresh herbs add such a punch of flavor to your food that you could never quite achieve from the dried ones. I'll keep you updated about these little guys and how they're doing. Fingers crossed!

This is the next project that I'm really excited about. Check out this beauty:


A couple weeks ago, my amazing roomate and partner in crime Michaella saw this small vintage dresser sitting out by the dumpster in our complex. She told me she thought it looked like it was in good shape, but it was hard to tell just from driving by. So of course, we went outside to check it out, and sure enough it was! You better believed we hauled it inside! As you can see, it needs a little TLC (color is faded and it's missing one drawer pull). But it's a very nicely constructed piece of furniture. Look at the original pulls and the beautiful carving.


This beauty even has dovetailed drawers (meaning the pieces of wood are cut like puzzle pieces that fit together perfectly to make it stronger). You would be hard-pressed to find a dovetailed nightstand without paying a fortune nowadays. Peep those dovetails! 


Michaella and I made a trip to Lowe's a few days ago to get the supplies we'll need to give this little dresser new life. We are actually planning on using it as an entry table to keep in our foyer and hold blankets for when guests stay over. We're going to get a cute dish to keep on top of it to set our keys in.

The supplies we bought were sanding pads, walnut colored wood stain, a brush to apply the stain, and 6 new drawer pulls. Here is a picture of the supplies. 


Here's a close-up of the new pulls. Aren't they lovely? We were both attracted to the leaf design and how the tarnished gold color is in keeping with the drawer's vintage look. They were a little pricey (around $3 each), but they were our favorite hands down! 


Here's our entry table...just waiting for it's turn in the spotlight again! I can't wait until we get this project underway and it's completed. Hopefully that will be later this week. Until then...
 
"Thanks for saving me from being doomed to eternity in a landfill!"

I hope you enjoyed my first post here at making&baking. Check back soon for more updates and new recipes! Thanks for reading!

xoxo
JEN